Installing flexiWAN
Overview
This section covers installing flexiWAN using the Installation image, recommended for baremetal installation. For virtualization, flexiWAN offers pre-built virtual appliances on the Downloads page.
Before continuing, make sure to download the ISO image from the downloads section. as well as, make sure your hardware satisfies the system requirements.
The following steps are covered by this guide:
Writing the installation image to USB
Booting from USB and starting flexiWAN instalation
Completing the installation.
Note
Installer image supports serial and monitor output. UEFI is required. Default baud rate is 115200.
Writing image to USB
After downloading flexiWAN installer image, the next step is to write the image to USB.
To write image on Windows, download Rufus from here. After downloading Rufus, plug in the USB disk drive, select flexiEdge ISO and click on Start to write the image to the USB. Keep all other option defaults.
To write image on MacOS, download Balena Etcher from here. Run Balena etcher and select the flexiEdge ISO, followed by disk selection and click on Flash.
After the flexiEdge is written to USB, proceed to the next section, Installing flexiWAN.
Installing flexiWAN
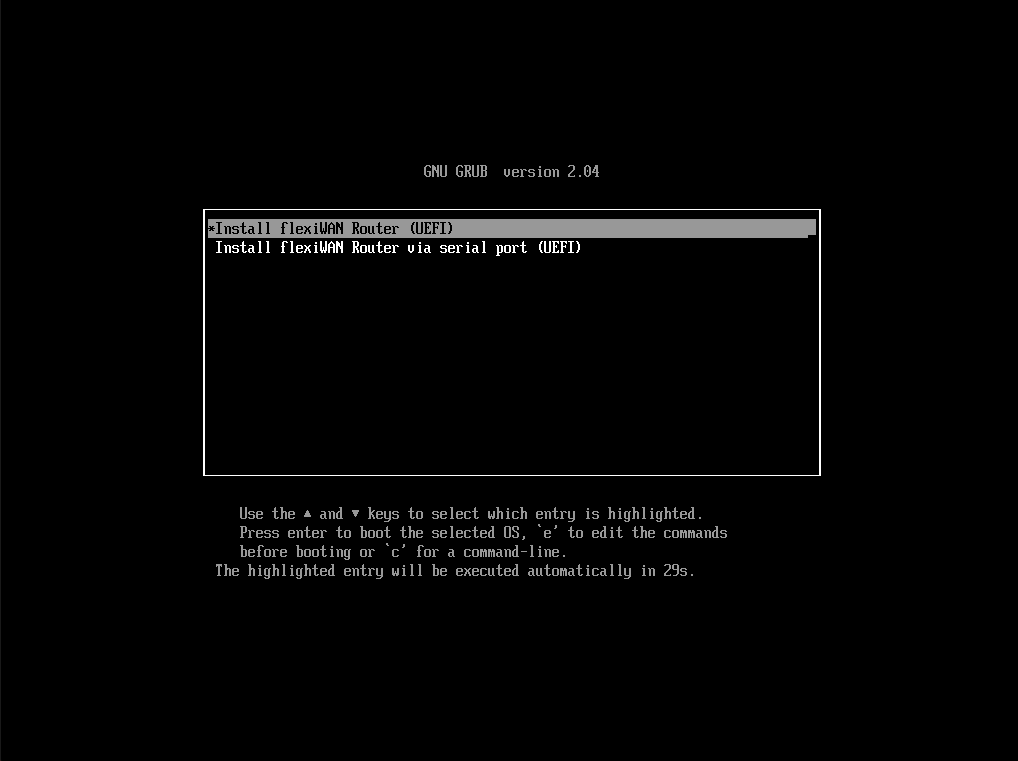
Once the flexiEdge installer USB drive is ready, the next step is to plug in the drive to the device and boot it. Make sure USB is selected to boot first At the boot selection, the following options are displayed:
Install flexiWAN router (UEFI) - select when using a device with monitor or a virtual machine with graphical output.
Install flexiWAN router via serial port (UEFI) - select when using a device with serial console instead of monitor.
This guide shows first option selected, however procedure is the same for serial.
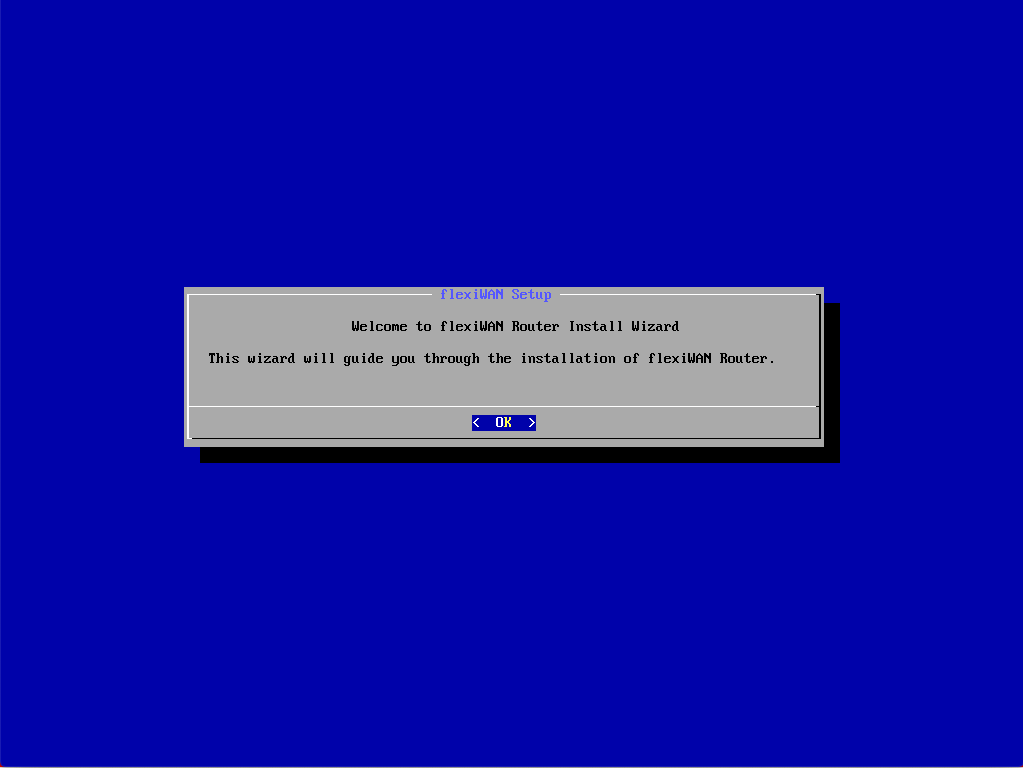
After a few moments installer wizard will show. Click OK to continue.
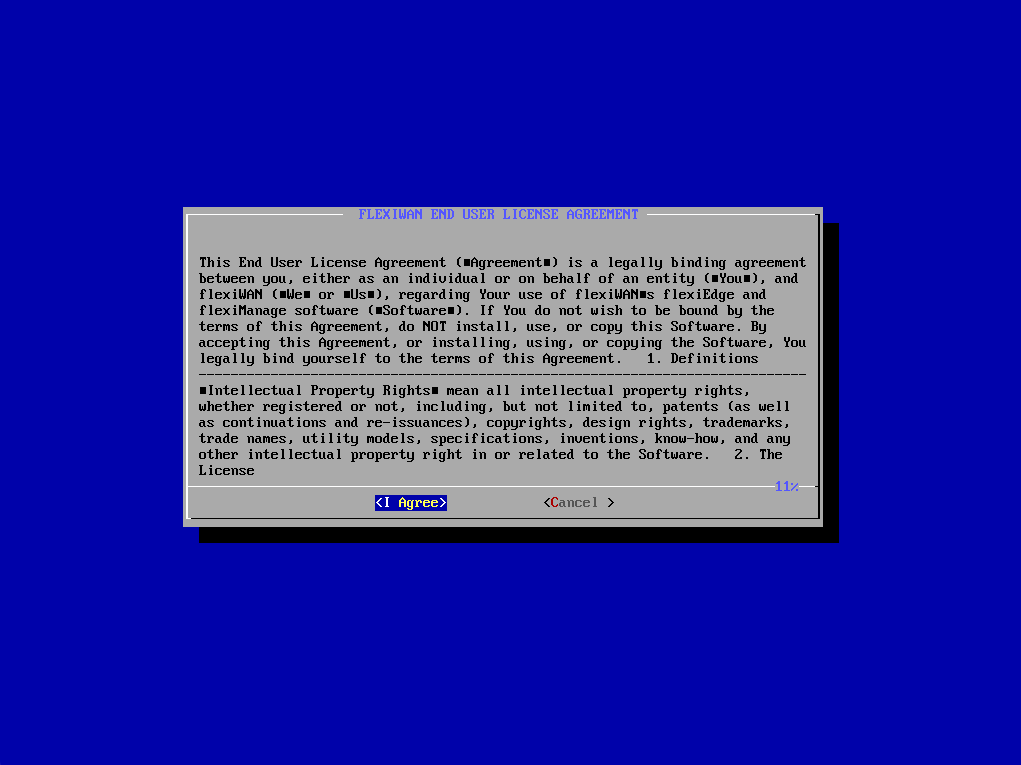
Accept EULA in order to continue installation.
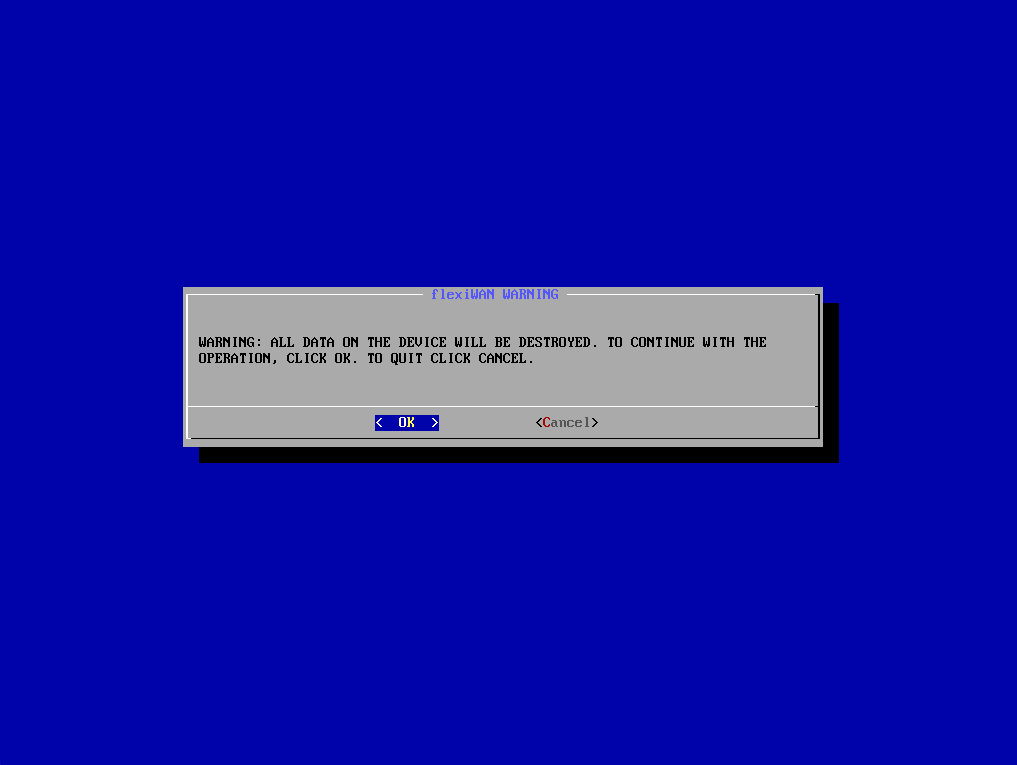
Setup will automatically detect available hard drive and offer installing to it. Simply click OK and that’s it, installation wil start.
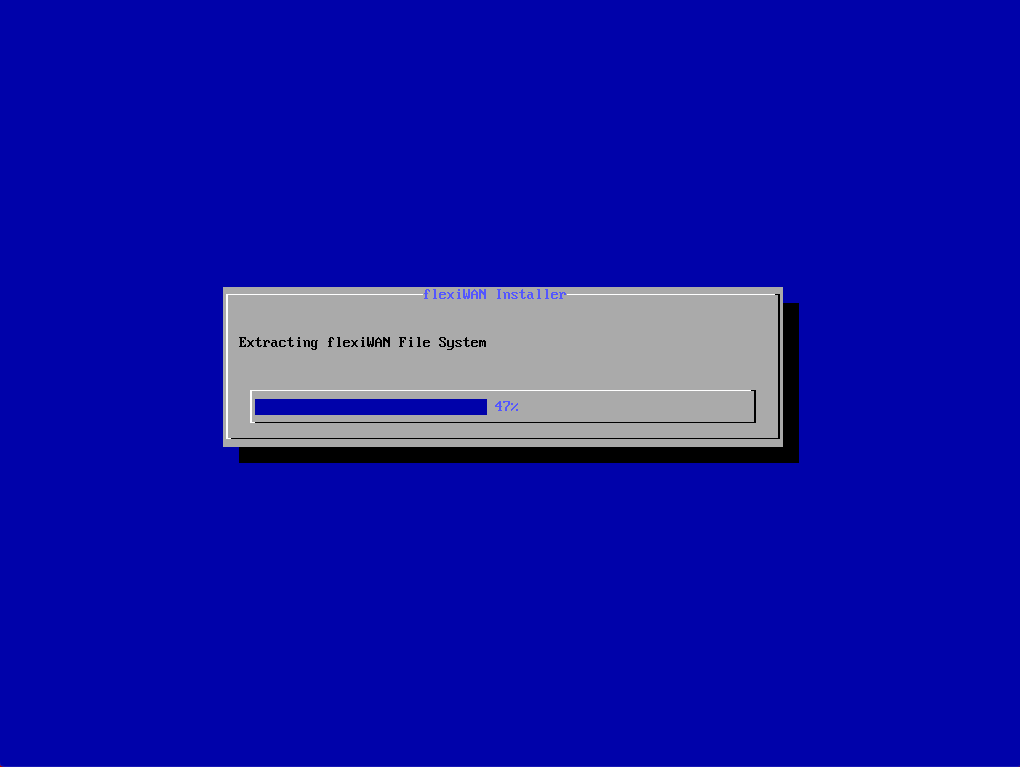
Wait for a few moments until setup completes. The installer will create main partition and recovery partition. Recovery partition is useful for offline reinstallation.
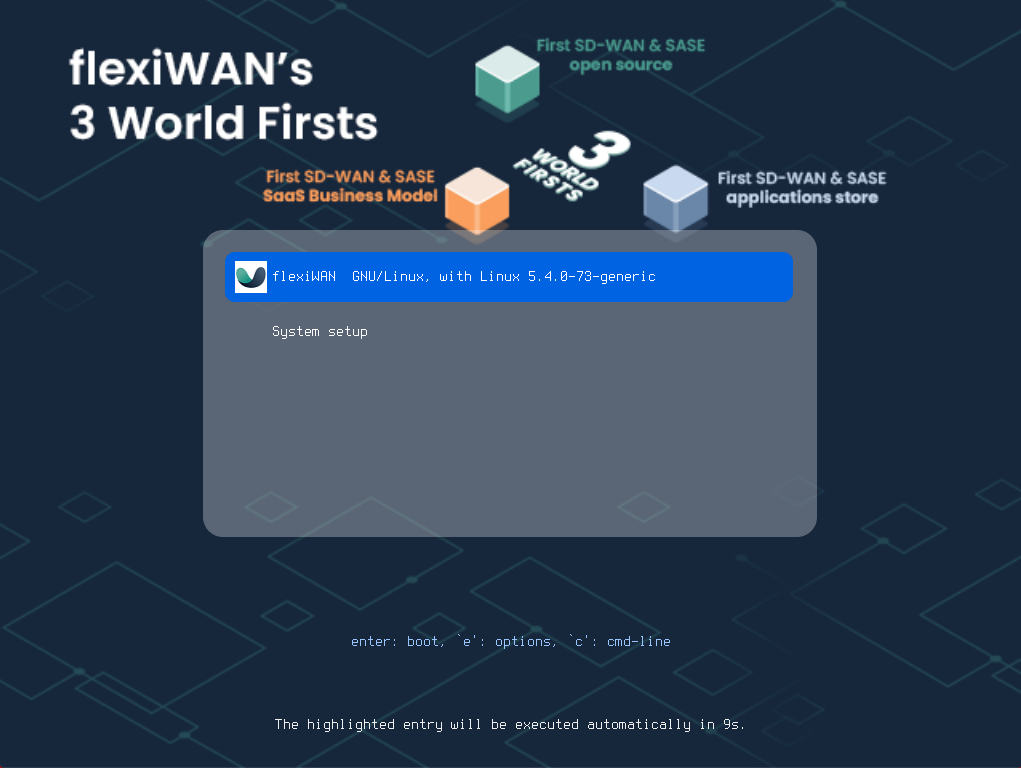
Upon completion, setup will automatically reboot the device. Make sure to unplug USB and boot from the internal disk drive.
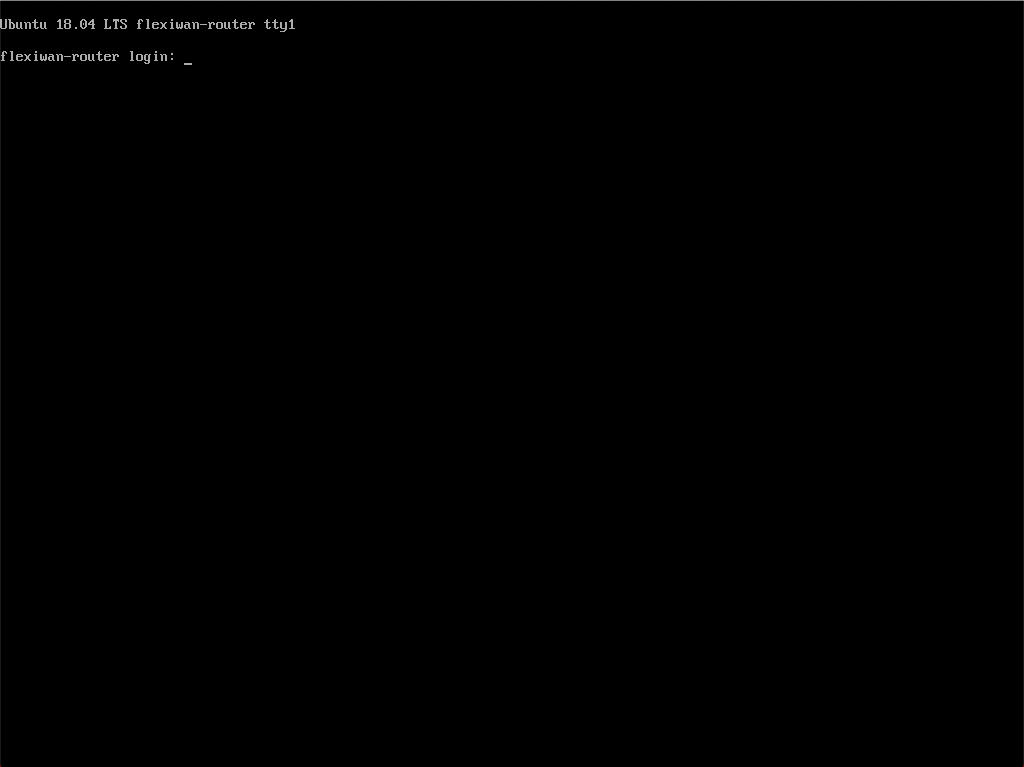
That’s it, flexiWAN is now installed! Default username and password are: admin / flexiwan
After sucessfully installing flexiWAN, proceed to the Device Setup which guides how to complete the installation and connect the device to your flexiManage account. In order to access flexiManage, please create an account.
